Essential Tips for Tile Layouts
Are you doing a kitchen remodel, bathroom redesign, or another project involving tile? You have probably considered the size, color or pattern, and finish of the tile, but have you considered the tile layout? The tips for tile layouts in this article will help you imagine how the tile and grout lines on your floor, backsplash, shower, fireplace surround, or other project will be arranged.
People who are not professional tile installers may not be able to put their finger on why they feel a little out of sorts when they enter a room with a poorly planned tile layout, but they do recognize when something is not right. Tile layouts must be centered, balanced, and work in harmony with the other elements of the room. This is true whether your tile design is a statement or a backdrop. This article will help you visualize your layout like an installer.
Once you have made a material selection, you will want to hire a professional tile installer who understands how to create a layout that works for your tile, your space, and your overall design plans. Adam Copher, owner of Copher Tile & Stone explains,
Layout can make or break a project. It can make the difference between a stunning piece of art and an amateurish-looking install.
Identify or Create the Focal Point
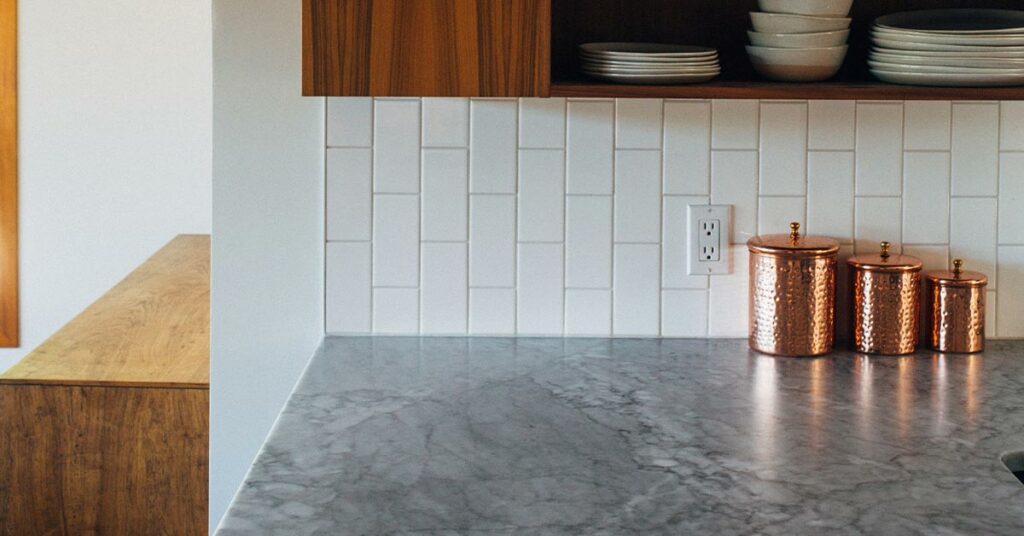
The focal point of a room is the first place one’s eyes tend to land upon entry, such as a fireplace or large window. The focal point in a kitchen is often a backsplash over the stove. In a bathroom, the focal point is usually the shower walls. If there is already a focal point in the room, the layout should help draw attention to it.
If the room has no focal point, the tile can serve as the focal point. Some examples of tile focal points include mosaics, patterns, niches, and medallions.
Tile Cuts and Grout Width
Have you ever noticed a tile installation with conspicuously slim pieces of tile along a wall, bathtub, or elsewhere? This happens because the contractor started installing the tile without thinking about how the tile cuts would look around the edge of field (where the tile ends, the tiles located furthest from the center of the room). Unsightly sliver cuts like these can be avoided by limiting the number of cut tiles and adjusting the width of the grout lines.
Any cut tiles should be placed in areas that will not detract from the focal point. Cut tiles should not be less than half the size of the full tile, if possible. An experienced installer will always measure out the room and plan the layout so that the cuts at the edge of field are as close as they can be to the halfway mark.
Here are some factors to consider before deciding on the tile cuts and grout width:
- Manufacturer’s instructions
- Industry standards and guidelines
- Is there more than one focal point in the room?
- Windows and/or window seats
- Niches (recessed areas in a wall)
- Cabinets
- Built-in shelves
- Built-in benches
- Molding, trim, baseboards, etc.
- Wrapping around corners and other changes of plane
Potential Complications
An average installer could do all the above, yet still produce dissatisfactory results if they do not anticipate variations in the materials and structures. For example, you may have heard that 2×4 pieces of lumber are not really two inches by four inches. (The actual size is one and a half inches by three and a half inches.) Although the log is cut into 2×4 pieces, some shrinkage happens during the lumber milling process. The same concept is true of not only tile, but also the floors or other surfaces upon which tile is installed.
Here are some potential complications:
- Patterns do not always line up. It would be helpful if the designs on patterned tiles easily lined up from one tile to the next. Unfortunately, patterns can be misaligned even if the tiles themselves have perfect alignment.
- Tile size can vary. The height, width, and thickness of the tiles can be inconsistent, as well.
- Tiles may be warped. Tiles can be slightly bent or twisted, instead of perfectly proportioned or flat. Warpage can cause unevenly laid tiles, where one tile is higher or lower than the neighboring tile. This problem is called lippage. Depending on the size of the grout joint, lippage can be more or less noticeable.
- Structures usually are not perfect. It is very rare that the walls and other substrates upon which tiles are to be installed are flat and level. Corners and angles can be unpredictable.
All these factors must be considered before the tile is installed. A seasoned, reputable contractor will examine the materials and make any necessary adjustments to the layout.
Why Tile Layouts Matter
Without a suitable layout plan, materials will be wasted, and it will take longer to complete the job. Here is why. Small pieces of tile are more fragile and can break before installation. The number of cuts necessary for an installation will vary, depending on the layout. The more tile cuts and broken tile you have, the longer the project will take and the more material you will need to complete the project.
Unfortunately, some installers will bid low because they take shortcuts when it comes to layout. They simply do not plan on creating a layout. They do not want to educate you about your layout options. They will not accommodate any special requests concerning layout. Make sure that if you are comparing bids, you ask about these things.
No Layout Worries with Copher Tile & Stone
What should you expect with Copher Tile & Stone’s tile layouts? Copher explains,
Sometimes an excellent layout can fall right into place with the first attempt. Other times it can take several hours or more to arrive at the best layout. One of the differences between a great installer and an average installer is someone who is willing to go back to the drawing board several times until they have found the best solution.
The highly trained installers at Copher Tile & Stone are masters of improvisation. They plan for variations in materials and substrates. If possible, they always accommodate clients’ requests about layout designs. They number crunch and brainstorm until they have the best possible layout plan. The finished installation will be aesthetically pleasing and conform to the manufacturer’s instructions in light of industry standards and guidelines.
By Alice Dean
