A homeowner in Varian Ranch, an equestrian community northeast of Arroyo Grande, had an outdated dark purple carpet in his master bedroom. As someone who is sensitive to dust, he wanted to replace the carpet with an easy-to-maintain, hard-surface flooring material that would not hold dust and allergens.
Our client loved the chiseled travertine floors that had been installed throughout his home two decades prior. He wanted to have travertine flooring installed in the master bedroom, but he was not sure whether the layout and stone finish would harmonize with the existing travertine.
Blending a New Tile Layout With an Existing One
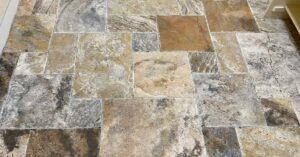
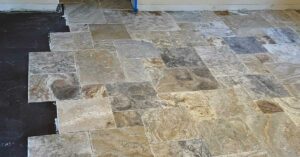
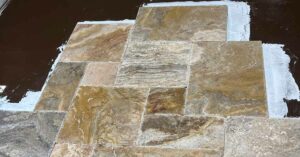
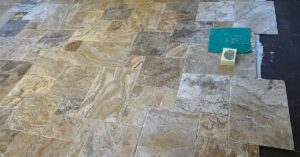
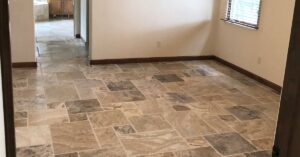
The travertine tiles for this home came in a Versailles pattern, that is, a repeating design of square and rectangular tiles that fit together like a puzzle. However, the installers of the existing floor did not follow this pattern. They just installed it randomly.
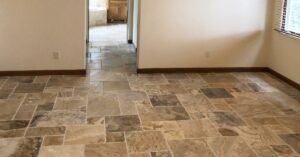
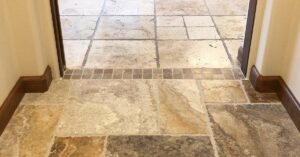
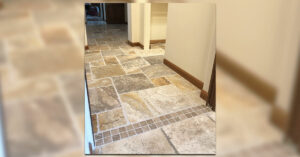
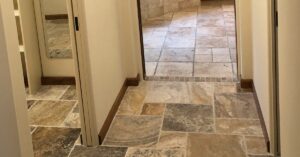
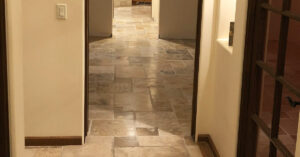
After discussing the difference with the homeowner, we mutually agreed that it would be best to go ahead and install the correct pattern in the master bedroom. We assured the homeowner that we could create a sense of cohesion by installing transitions and creating a layout where some of the main grout lines would correspond with the main grout lines on the original installation.
What About the Unmatched Travertine Finishes?
The original chiseled travertine had come from a different section of the quarry, or perhaps even from a completely different quarry than the new materials. In a situation like this, one should expect there to be some variation.
Fortunately, the new stone was a pretty good match, other than some dissimilarity in the amount of reflectivity in the finish. The old stone had been polished to a higher grit. In certain lighting conditions, the difference was apparent.
We explained to the homeowner that one of the benefits of natural stone is that the finish can be changed after it is installed.
Making the Slab Flat (Substrate Prep)
For a successful tile installation, the surface underneath the tile needs to be flat. Tile installers use a variety of processes, called substrate prep, to achieve a flat surface, depending on the situation.
This floor presented several challenges:
- A huge hump in the middle of the room
- Several low spots
- Cracks in the slab
- Transitions from the original tile floor
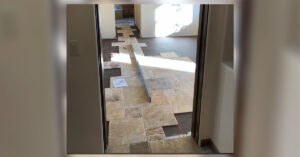
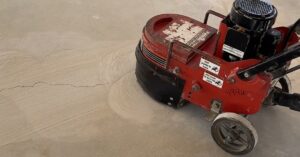
Since we could not raise the entire slab to the height of the lump in the middle of the room, we used a large floor grinder to flatten this area. A vacuum with a HEPA filter captured the dust.
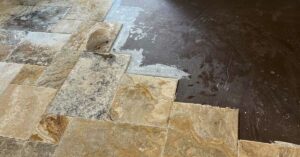
We mixed some latex-modified patching material and applied it with a trowel to fill in the low spots.
We installed a liquid roll-on crack isolation membrane over the entire floor since there were some cracks in the slab. This created a stretchy layer to protect the tile from any potential stresses from the slab.
Travertine Tile Installation
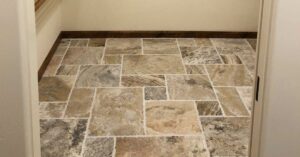
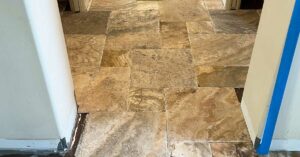
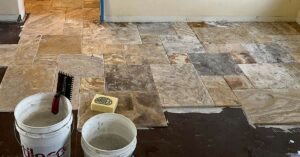
We installed the tile according to the layout plan, using the Versailles pattern. In the doorway to the bathroom, where the old travertine aligned with the new travertine, we installed a transition. We grouted the floors and allowed it to completely dry before refinishing.
The Finishing Touches
Stoneworks, a reputable stone and tile restoration company, honed and polished the new travertine to match the finish of the existing floor. They also put a coat of sealer on the new stone and grout lines.
This was a challenging job, even though at a glance it may seem simple. In the end, the client was very pleased with the appearance of the floor and relieved that his dust allergies would no longer be an issue in the bedroom.
Interested in working together?
Request a quote using the form below.

